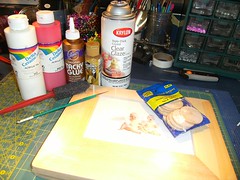
Supplies:
- 5x7 Wood Frame (Can be purchased at Hobby Lobby or here)***
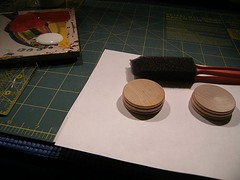
- Wood circles for knobs (Purchase here or at Hobby Lobby)
- Red Paint
- White Paint
- Gold Paint
- Tacky Glue
- Foam Brush
- Small Tip Paint Brush
- Clear Gloss Spray
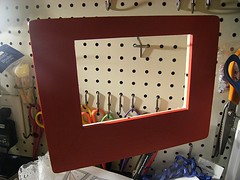
Step 1: Paint the Frame
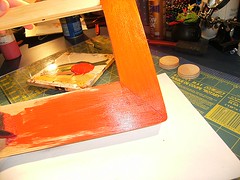
Using the red paint and the foam brush, paint the frame. From my experience, it will need at least 2 coats, most likely three. Luckily the paint dries really fast on the wood, so by the time the first coat is done, you'll be ready to apply the second coat. Allow the frame to dry. I like to hang mine on a metal post on our craft space's pegboard so nothing touches it.
Step 2: Glue the Knobs
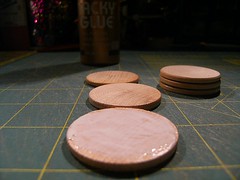
Unless you can find something the exact right size, you'll need to glue the wooden circles together with tacky glue to make it appropriately sized knobs. I glued three together, making sure the one with the smoothest surface ended up on top.
Step 3: Paint the Knobs
Add a few coats of white paint to the knobs, and let them dry. Glue them to the Etch-A-Sketch
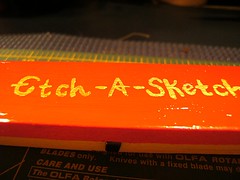
Step 4: Add the lettering
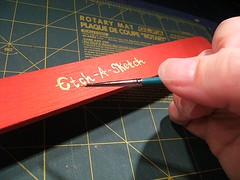
For me this is the most nerve wracking part of making the frame. My hands shake a lot when under this kind of pressure, so adding the lettering is something that needs to be done slowly and carefully. If it makes it easier, use a pencil and lightly trace out the letters you'll be putting at the top. The typical Etch-A-Sketch has the words "Magic Etch-A-Sketch Screen" at the top, but I think just the Etch-A-Sketch part looks the best.
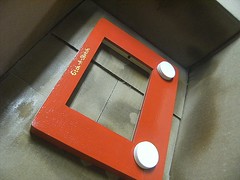
Step 5: Spray the crap out of it
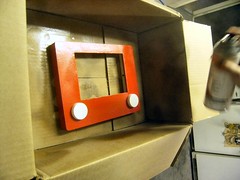
Use a glossy spray with the frame in a box in a well ventilated area (unless you really like the smell of the spray, which I totally don't, I'm just throwing it out there). It should need only 2 coats of the spray. Do the second coat only after making sure the first has dried and is no longer tacky to the touch.
Finished!
And now you're done! If you want, you can buy a 5x7 piece of glass for the frame (the curved edges of the inside of the back may not allow you to put the glass in, so I suggest using a razor knife to make the back square so the glass can fit).

To make an Etch-A-Sketch Embroidery the only thing you need to do is get some gray fabric, black embroidery floss and a self stick mounting board, to ensure that your stitched doodle stays flat.
*** You will know you've purchased the correct frame by the ridiculously freaky baby picture


2 comments:
I am SO happy you posted this. My fingers and toes have been crossed, because I wanted to give you this if you did make a tutorial!
Sew Awesome Craft on sewhooked. Woo!
Blogger won't let me leave the icon here, so I'll email it. ;)
Thanks for the tutorial, such a great idea.
Post a Comment