The first step was finding something to make the stand out of. I asked my dad if he had anything in the shed or his shop that would work and he brought me an empty roll of spline (he removed the larger cardboard pieces, so it was just the center). When I put a headband on it to see how it would work, I realized I just needed some padding and it would be the perfect size!

I pulled out some supplies: cardboard from a case of ramen, batting (I only had some low loft, so I folded it until it was thick enough), my favorite black swirl fabric (as seen in almost every quilting project I've ever done), and a hot glue gun.
Note: Maybe you shouldn't use a hot glue gun when working with batting and fabric, but I wanted a fast project and I didn't mind burning my fingers
I glued the batting around the tube and glued a tiny spot of the fabric onto the batting so it could be held in place.

I wrapped the fabric around the batting and rather than glue it down (since it would look quite awful) I folded the fabric and pinned it down.

I hate hand sewing anything (but I adore cross stitching, go figure). I grabbed a needle and some heavy duty thread and in less than 5 minutes I had it all sewn together.

Now here's the part where I admit my mistake. I forgot to take pictures of one of my steps. I cut out two circles of cardboard: one for the front and one for the back. The one in the front was larger than the tube and the one in the back was smaller. I cut out some more fabric and covered the first piece of cardboard with it. The smaller piece was tricky. I was going to use a different method to secure it to my wall, but I wanted to go with something fast and easy.
Using a hole puncher, I put two holes into the cardboard and glued some pushpins on there.

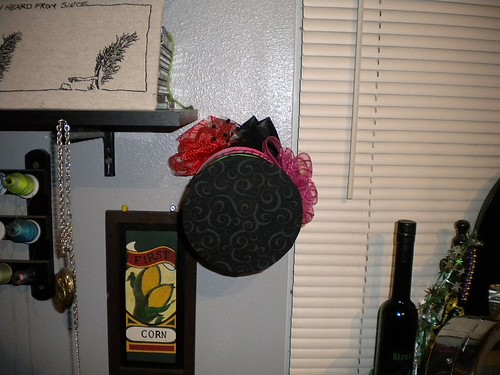
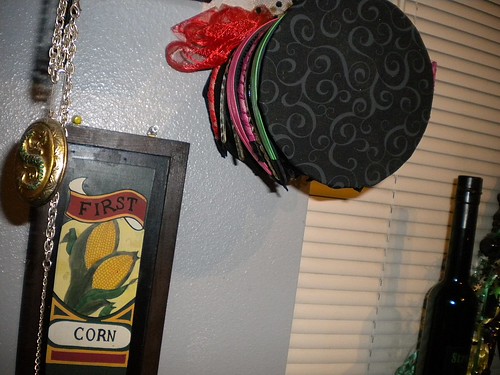
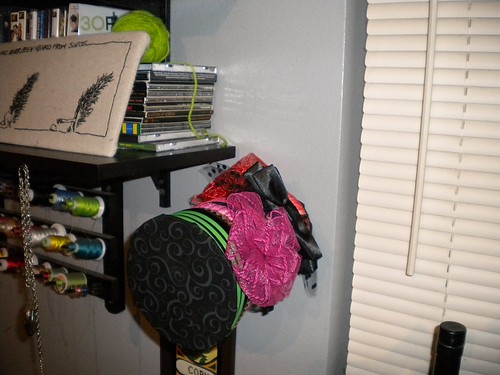
And the finished product!

With an hour and a half of my time I created something that is not only functional, it is pretty spiffy looking. I won't lose my headbands and it'll keep the more fragile ones from being ruined. The best part is that I already had all of the supplies just sitting around. Here it is in my room and it fits perfectly between some shelves and my vanity.


1 comment:
GREAT idea and so cute! Made out of one of my favorite black fabrics, too!
Post a Comment